GitHub Standards
Here are some guidelines you should follow when using git and GitHub for project hosting.
A. Initial GitHub Setup
When first setting up your GitHub account, please make sure you do the following:
A1. Choose a professionally appropriate name for your GitHub account.
Your GitHub account name should identify you in a professional way. Ideally, you will have the same name for your GitHub account, GMail account, LinkedIn account, TechHui account, and so forth. In my case, I chose “philipmjohnson” as the account name for all of the above services.
Avoid a name that would be potentially embarrassing when seen by future employers (madhackerskillz, etc.).
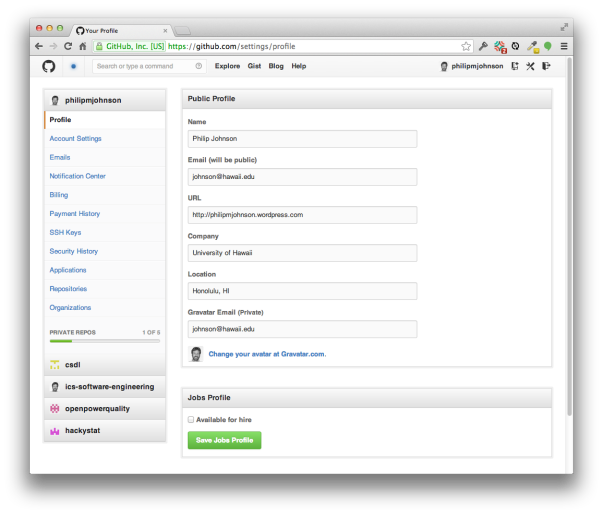
A2. Fill out your GitHub profile.
It’s easy to do, and enables you to provide a (professional) picture as well as a link to your professional portfolio:
A3. Enable automatic management of line endings.
Windows uses a different line ending character(s) than Mac/Unix, which can cause problems for collaboration. To fix this, you should follow the instructions in Dealing with Line Endings. Essentially, you will need to set the git auto.crlf property to a value appropriate for your platform. To see whether you have set this property already, you can invoke the following to obtain a list of all your configuration settings:
git config --list
If you are just setting this property for the first time, then it is advisable for you to delete any of your local repositories that you are sharing with other developers, and re-clone them from GitHub. That ensures that automatic management of line endings will take effect.
B. GitHub Repository Configuration
Each GitHub repository you create should conform to these standards:
B1. Provide a README.md file.
All projects should have a top-level README.md file.
Edit the file to document your project using GitHub Flavored Markdown format.
For simple projects, your README.md file can contain complete project documentation in the form of:
- An overview of the project and what it accomplishes.
- A screen image of one or more aspects of the running application (if applicable).
- Instructions for installation.
- Instructions for usage.
- Credits (if you are using other applications).
To include screen images, you can create a directory called “doc” at the top- level of your project and put your image files in there.
More complex projects will require individual Wiki pages for each of these issues.
B2. Provide a LICENSE file.
All projects should have a top-level LICENSE file that indicates the license attached to your source code. GitHub has support for licensing, see Choosing an Open Source License for details.
B3. Provide a .gitignore that excludes IntelliJ project and derived files and directories.
Currently, it is difficult to correctly share IntelliJ project files, so instead just exclude them by adding the following to .gitignore:
*.iml
.idea/
There is a sample .gitignore file you can use.
This means each project member will have to set up their own IntelliJ project files.
“Derived” files are files and directories that are the product of compilation/execution (or can in some way be generated from the “Source” files). Depending upon the project, examples of derived files and directories to exclude might be:
.checkstyle
.settings/
.target/
target/
project/project
project/target
logs/
Sometimes you will mistakenly commit derived files and directories to GitHub. Fortunately, this is easy to fix:
- Go to your project directory using the Finder or Windows Explorer or a command shell, and manually delete the derived file or directory.
- Invoke your GitHub app, and “sync” (commit and push) this change so that the most recent version of your repository no longer contains these files.
- Now edit your .gitignore file to exclude the derived file.
- Sync (commit and push) this change so that the GitHub repo now contains the updated .gitignore file.
B4. The top-level of your GitHub repository should NOT be a single directory.
A common newbie mistake is to commit the directory containing your project, not the contents of the directory containing your project. If you do that, then when you view your repo on GitHub, the only thing at the top-level will be a directory.
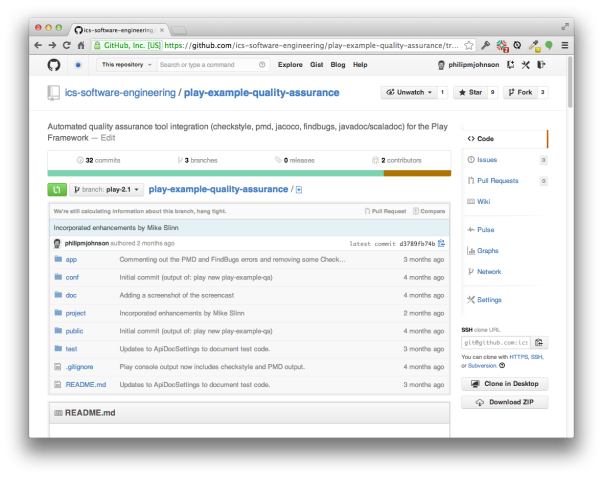
B5. Create a GitHub Page as the “user-level” facing home page to your repository.
The default GitHub project interface is useful for fellow developers, but can be somewhat overwhelming to simple users of your application:
To provide a more end-user friendly experience, create a GitHub “page” for your site. You can choose to use the README.md file as the content. This strips out much of the complexity and enables your end-users to focus on the important parts of your documentation:
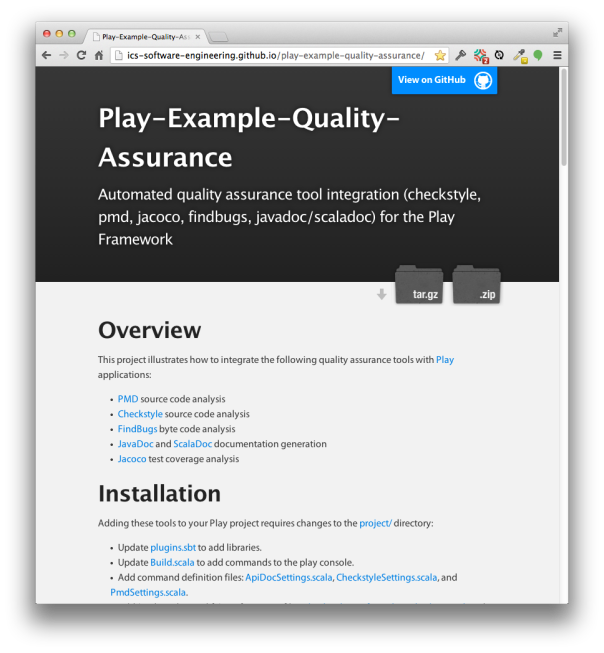
The GitHub page is useless if no one can find it. To make it easily available, edit the “Description” area at the top of your repo page and put the GitHub page url in the “website” field.
B6. The GitHub Golden Rule: Code unto others as you would have them code unto you.
There are the “mechanics” of collaboration, which involves ways to share and contribute code as a group. Beyond these mechanics is the “meaning” of collaboration, which is to work together to create high quality, useful software. To help you move beyond “mechanics” and toward “meaning”, you should observe at least the following:
-
Your repositories are ultimately your responsibility; keep your own code clean.
-
If someone contributes code to your repository that violates a guideline, then fix it.
-
If you are working on another student’s code base and notice a violation of one of our guidelines, then help them out! Say something! Add code that shows them the right way to do it and encourage them to emulate your correct style.
C. Commit messages
C1. First line should be imperative, clear, < 50 characters.
The first line of a commit should be 50 characters or less. This is a soft limit, so that git’s command line output is more readable. Use this line as a clear summary of the change. Try using imperative language in this line. A good commit message is “Add reactive variable for CPU clock speed”. Worse examples include “cpu clock speed” or “Added Meteor.CPU_speed so that we can avoid a setTimeout in the main example.”
Subsequent lines (if any) can be fairly verbose and detailed. Use your judgement.
For details on git commit messages, see How to write a Git Commit Message.